Showing posts with label Monkey (nee barker). Show all posts

Friday, 12 April 2013

Filming The Monkey

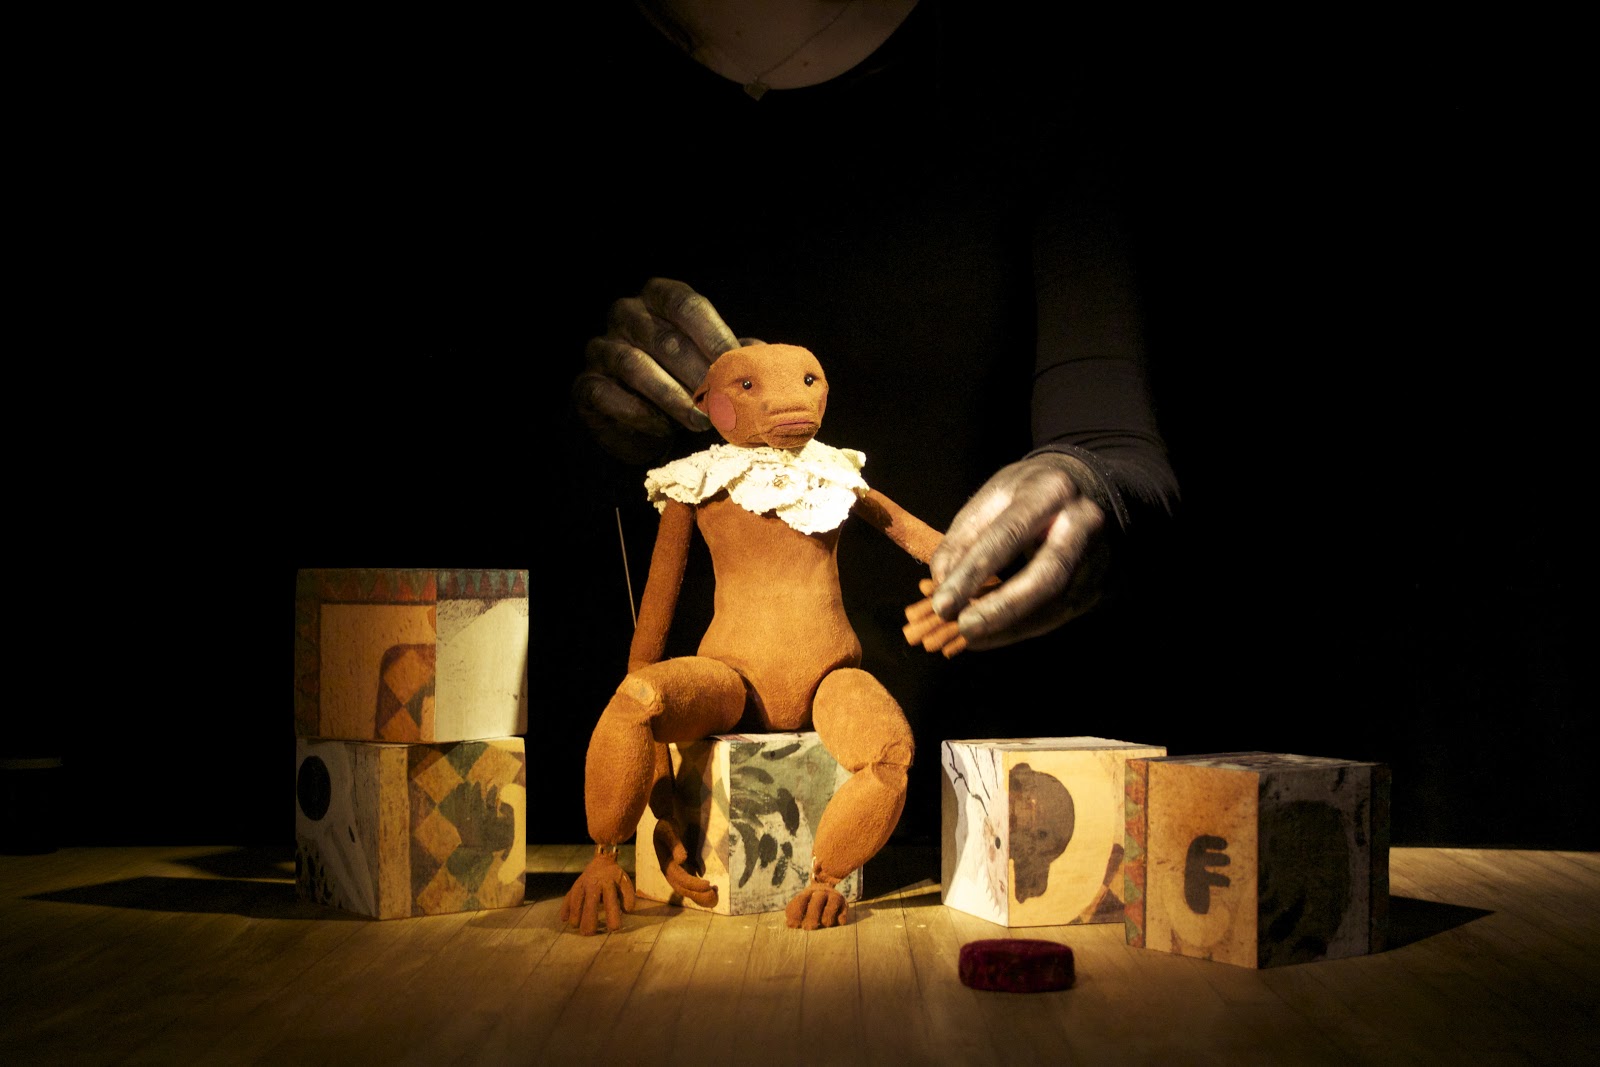
Filming the monkey was quite stressful. I think it was because it was near the end of my booth allowance and I felt a bit of pressure to get out on time. But anyway, I painted my hands black so they didn't glare in the lights- I am so pale! I think they definitely add extra creepy quality, they are so surreal. I got a friend to help film- to check the monkey was in shot and to cut filming so I could get the hat in and out of the shot.
Once I had several takes I took them into Premiere and started to splice and glue the footage. I had some bits of inspiration in my head: Georges Melies' films, old film ingerneral with thte slightly dodgey editing, skips in the footage- it was a way for me to be able to get way with the fact that some of the footage didn't flow perfectly. You have to run with mistakes sometimes. Next I took the edit into Adobe After Effects to add a film flicker and grain etc. I'd seen a music video by Smashing Pumpkins 'Tonight Tonight" and really like the vignette effect and wanted to do something similar.

Smashing Pumpkins - Tonight Tonight


Georges Melies- The Vanishing Lady 1896


A still from one of the takes.

Saturday, 16 March 2013

Monkey testing

As my original idea for the monkey was for him to be the barker and introduce the acts changed as my project developed I've been trying to work out what he can do instead. I know I wanted him to do a repetitive act, stuck on a loop or a circus trick. 
Playing around with him, I realised he's got quite an inquisitive face so interaction with the camera would be a good start. I like the idea of him being curious and I was performing him to interact with objects to get a feel of what he can do.

The concept behind my film is developing more as I go along and now I feel more definite that it is like an early children's TV programme, spooky little characters that are only on screen for a short while doing something that captures the child's attention. These sorts of programmes are quite repetitive in their nature so I want to take advantage of that and show the darker side of these characters being stuck in an endless cycle.

I thought about an object 'appearing' in his space and him lifting it up to find another object underneath, he looks at the camera, places the bigger object over the smaller and lift it back up to find the smaller object has magically changing into a different one. This action of the monkey revealing different objects would be repeated a few times.


But then I realised that I wasn't sure exactly how to do this in the time I have left. I don't have time to make more stuff as I only have a week left in the booth and still have to animate Pip and film the monkey. I thought I could use photographs of found objects (having a rather large collection of antique toys I'd have plenty to choose from) and I could either pixelate the 2D upright photos or composite them digitally in After Effects. But that's when I had to drop that idea, as my knowledge of After Effects was quite minimal and I didn't want to waste time doing something that I may not be able to get right. 

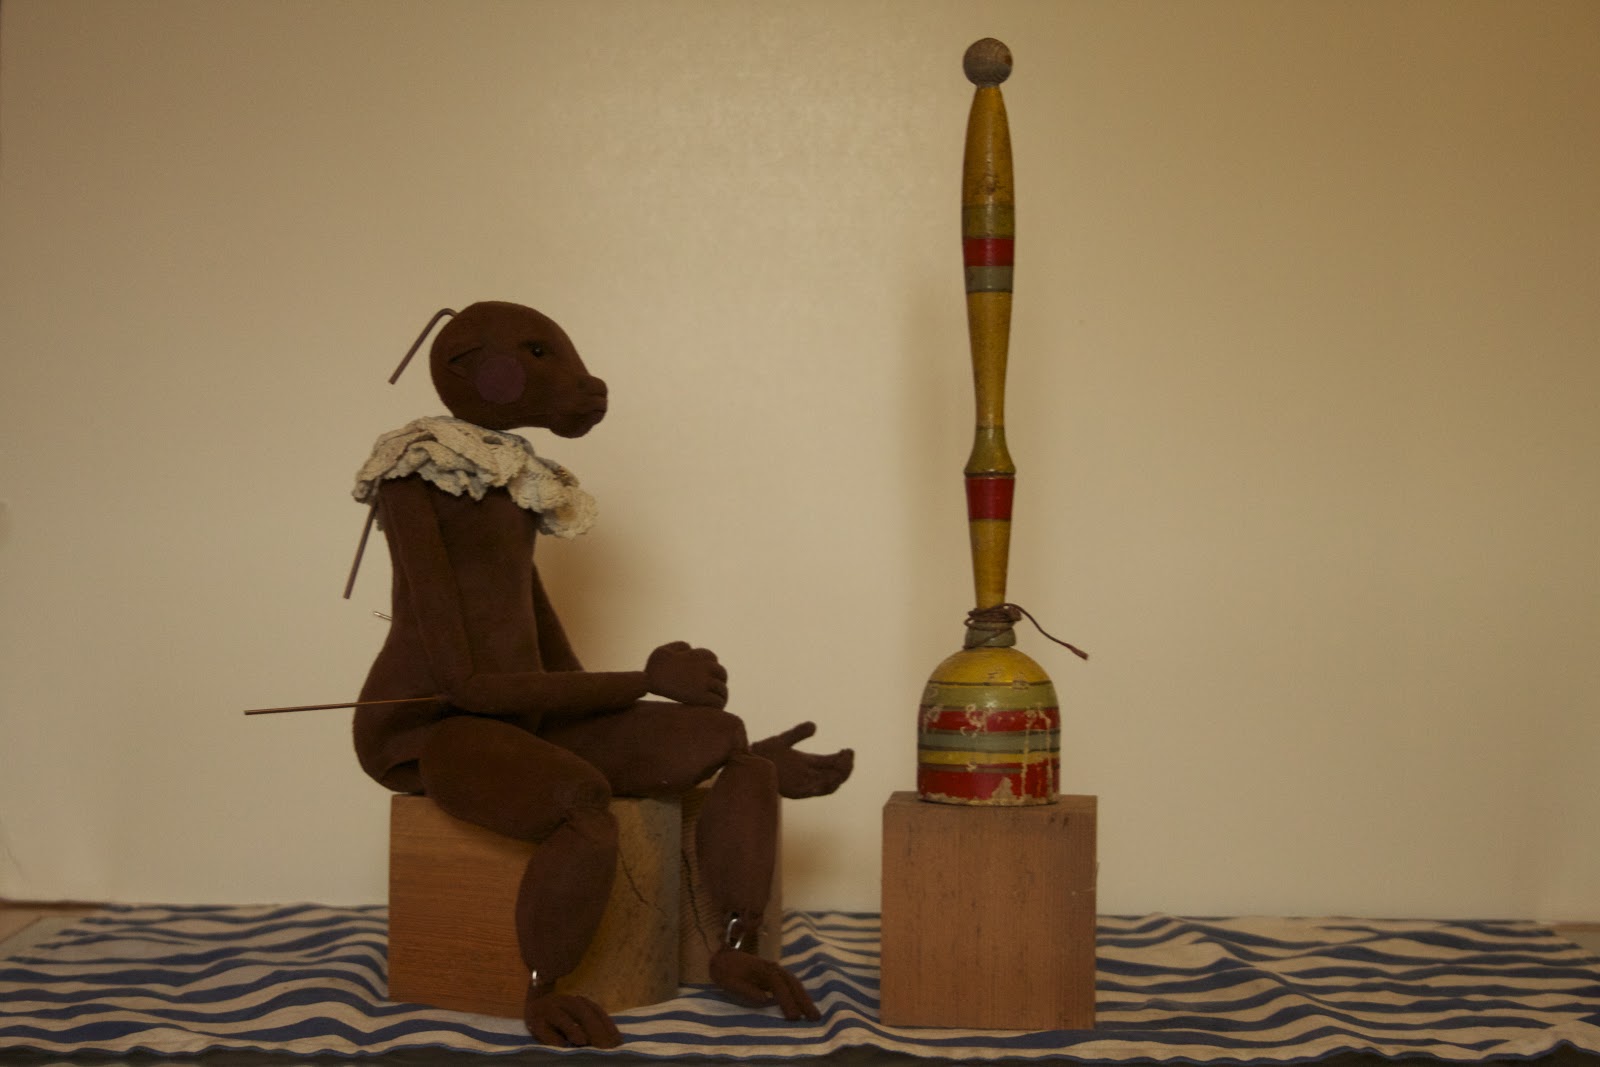
Another thing I noticed was that he took to hats quite well. I played about with bottle caps and things to act as hats and thought that he could try hats on using the camera as a mirror, so interacting with the audience that way. 

Here's one of the little video tests I did...


Monday, 11 March 2013

Press Moulds and Monkey Paws

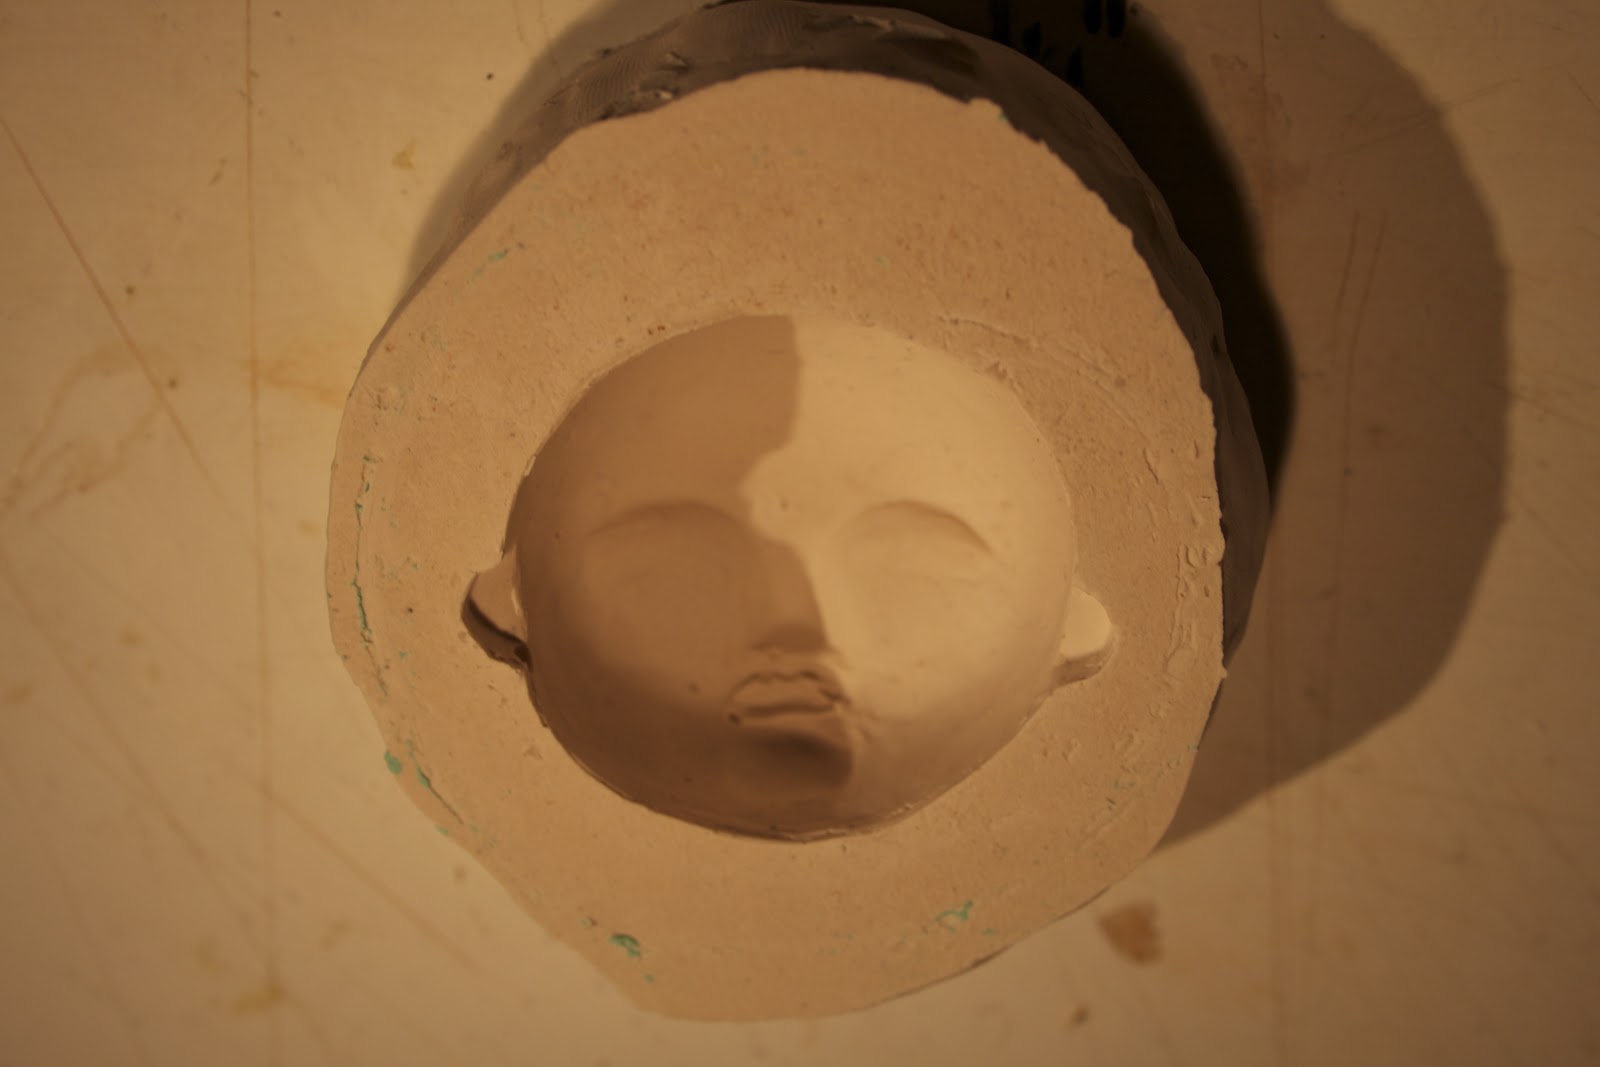
I've made a press mould for Pip as I will need to have some replacement heads to animate the tree growth. When mould making goes well I really love the process.

Initial sculpt and mould

Plaster Mould


Sculpy casts- pre baked.


While Pip's heads were in the oven I started to make the monkey's hands... I made them the same way as I made the feet: Wire armature, sculpted foam and retro fitting the suedette fabric.
 
Wire armature.

I decided to have rods that operate from the elbow so that his hands are
clear of rods when they are resting. The rod goes through the forearm into the
hand.
The stitching you see in this photo I actually got rid of as it restricted the
wrist action.


Tuesday, 5 March 2013

St Pirans, Pyks & Penn Askorn

Happy St. Piran's!
Gool Peran Lowen


I carved out a new belly for the mermaid from memory foam. It's a great foam to sculpt with and leaves a really nice finish- I'm wondering wether I might take a razor to it and just shave off any tiny lumps and bumps.


And little monkey had an operation in his back and head today to fit the operating rods in place.


Pins  hold open the 'skin' on his back to keep it clear of the hole
made for rod (like in the back of head).

Tuesday, 26 February 2013

Painting up the Doors and Monkey Face


Today I have been mostly painting.....


Little tiny ears
Lipstick on
Bit o rouge


Tranny Monkey.... Ooh la la


And painting boarders on the doors....


Friday, 22 February 2013

Monkey Business and more Paint Tests

Finishing off the arms- this time I'm using a simpler method of chord and rolled newspaper, wadding then retrofitting the suede. I need to think about how to save time.


Been doing some more paint tests. I brought some 'crackle glaze meduim' from th emodel shop but it is shit, to be blunt... I wanted old cracked paint but got splodgey crap instead. If I wanted a rust effect this would be 'bein monsuier' but I don't so it's crap. I'm going to just paint the body of the box a flat colour and varnish and sand it back to age it that way.

'Crap'ple glaze
Left Acrylic on Acrylic and Right Emulsion on Acrylic base
Crackle gaze goes underneath


Emulsion paints: Turquois, Teal and Deep Red

Teal on Magnolia base

And just for fun... The Cat in A Ruff

I found this beautiful bit of lace at the Sunday flea market


Monday, 18 February 2013

Still on the Monkey...

Leggies! I have legs! Oh I'm so excited by this. They are so cute! I love the feeling that creating something that works gives me. Ahhhh bliss!

Trendy B & W


Good stance

I also had to cut his body at the waist and add some foam as he looked a wee bit out of proportion.


And added some plaited leather chord to make his flexible neck...

Hole in da head


Covered with the suedette

Saturday, 16 February 2013

Monkey fabrication continued

More makings....
I added another bit of foam to make his head rounder

right hand side I used upholstery foam
better to use the hard foam though.

Retro-fitting the suedette fabric to the legs.


Sandwiching foam either side of the feet ready to be cut out


the feet cut out and roughly shaped.


I brought some great fabric via the leggings section in Primarni (Primark), the leggings in there are disgusting as clothing but the fabric is great for puppets. I found some suedette leggings and thought they'd be perfect for the Monkey....which they are.
I stitched the toes individually by retrofitting- i did it quite tightly, usually you measure the fabric to 3x the width but I did it slightly less so it would shape around the wire. It took absolutely ages but its definitely improved my fine hand stitching.


Retro-fitting and stitching the toes.

One down... 9 more to go...
Almost there...


So one foot down just the other to go and then the two hands when they're made....